Package Installation
Embark on a straightforward journey in configuring the Salesforce to Teams Integration. Whether you're a Salesforce or Teams administrator, this step-by-step guide ensures a smooth and hassle-free installation process, allowing you to quickly unlock the full potential of cross-platform communication.
We've included a version of these instructions directly in the Setup Assistant, as we know first-hand how challenging it can be to find (and read) the docs. On this page we've included additional Screenshots and guidance should you get stuck. Also, the Setup Assistant will provide contextual links whenever possible, taking you right to the place you need to be.
AppExchange
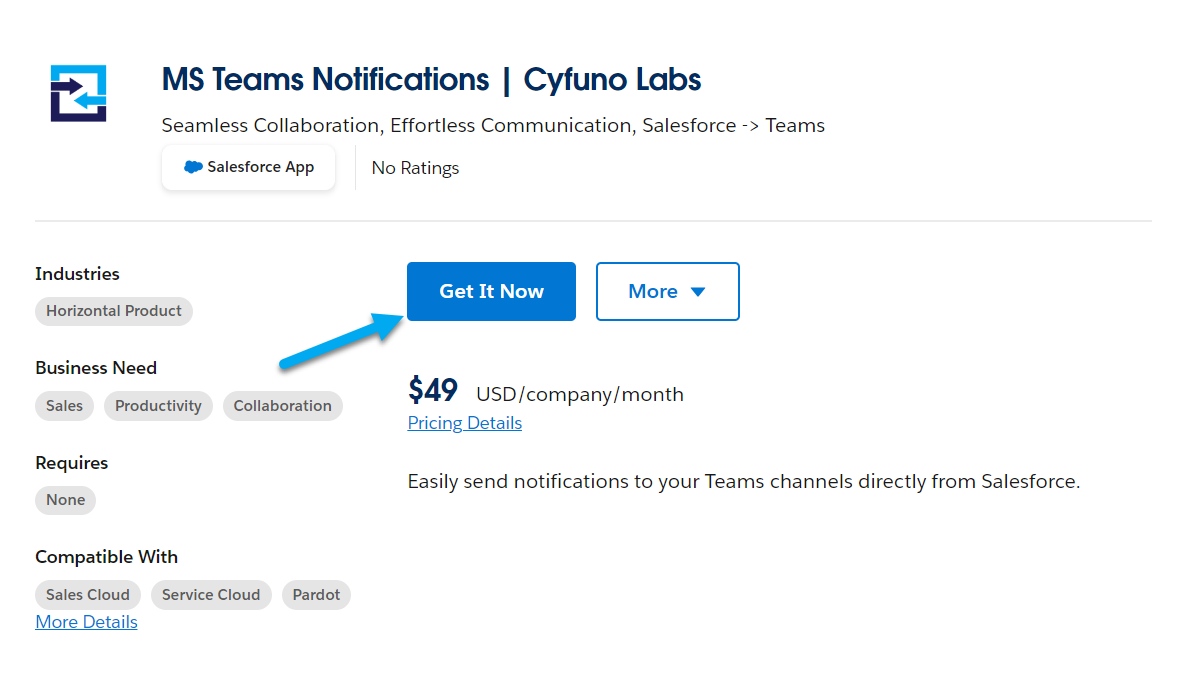
Installation begins with the AppExchange. From our Listing, click the Get It Now button.
You may need to Login to the AppExchange.
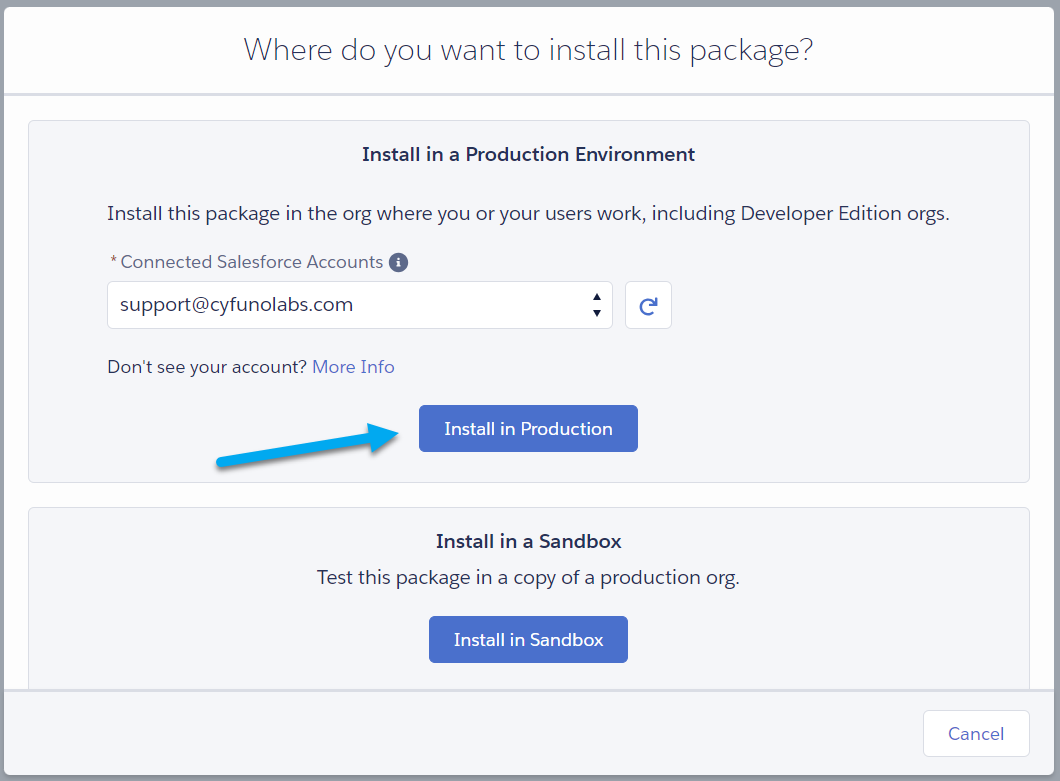
Verify that the Salesforce Username is correct, then choose if you want to Install into Production or in a Sandbox.
Next, provide your contact and billing details.
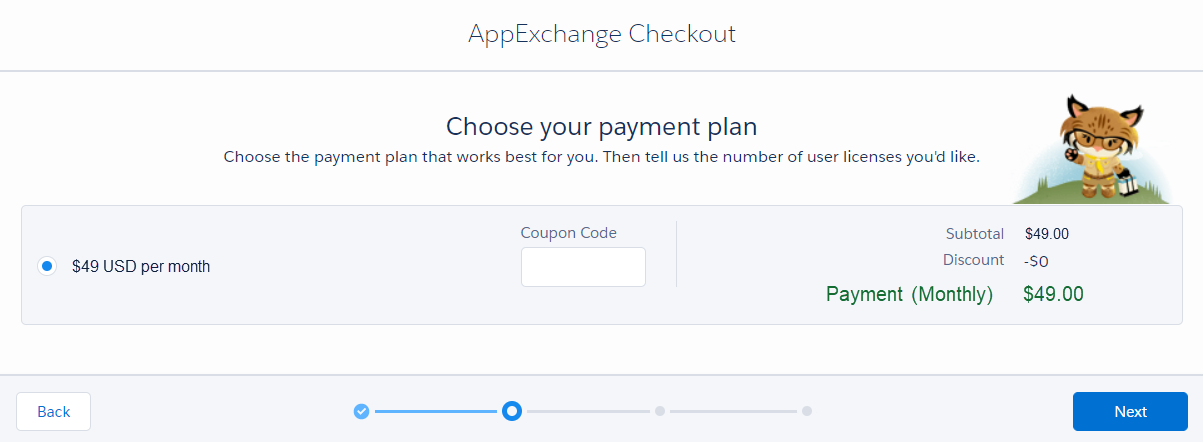
Choose your payment plan.
(in our screenshot we only have the Monthly plan, but there are others)
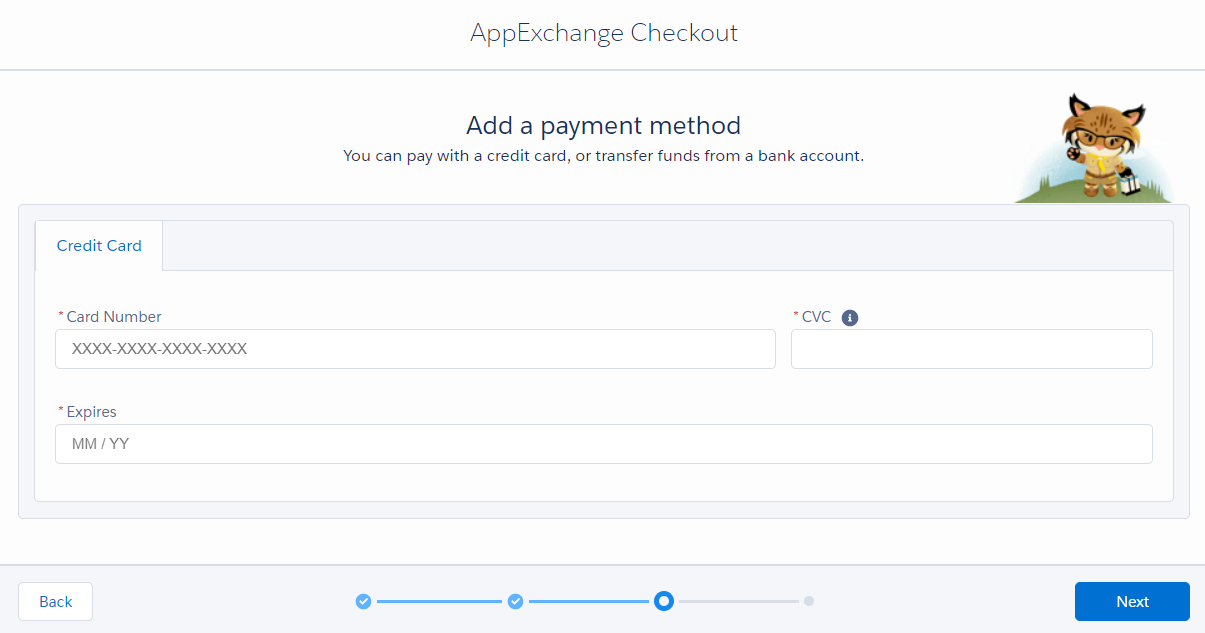
Provide your payment information. This can be updated later if the card changes or becomes expired.
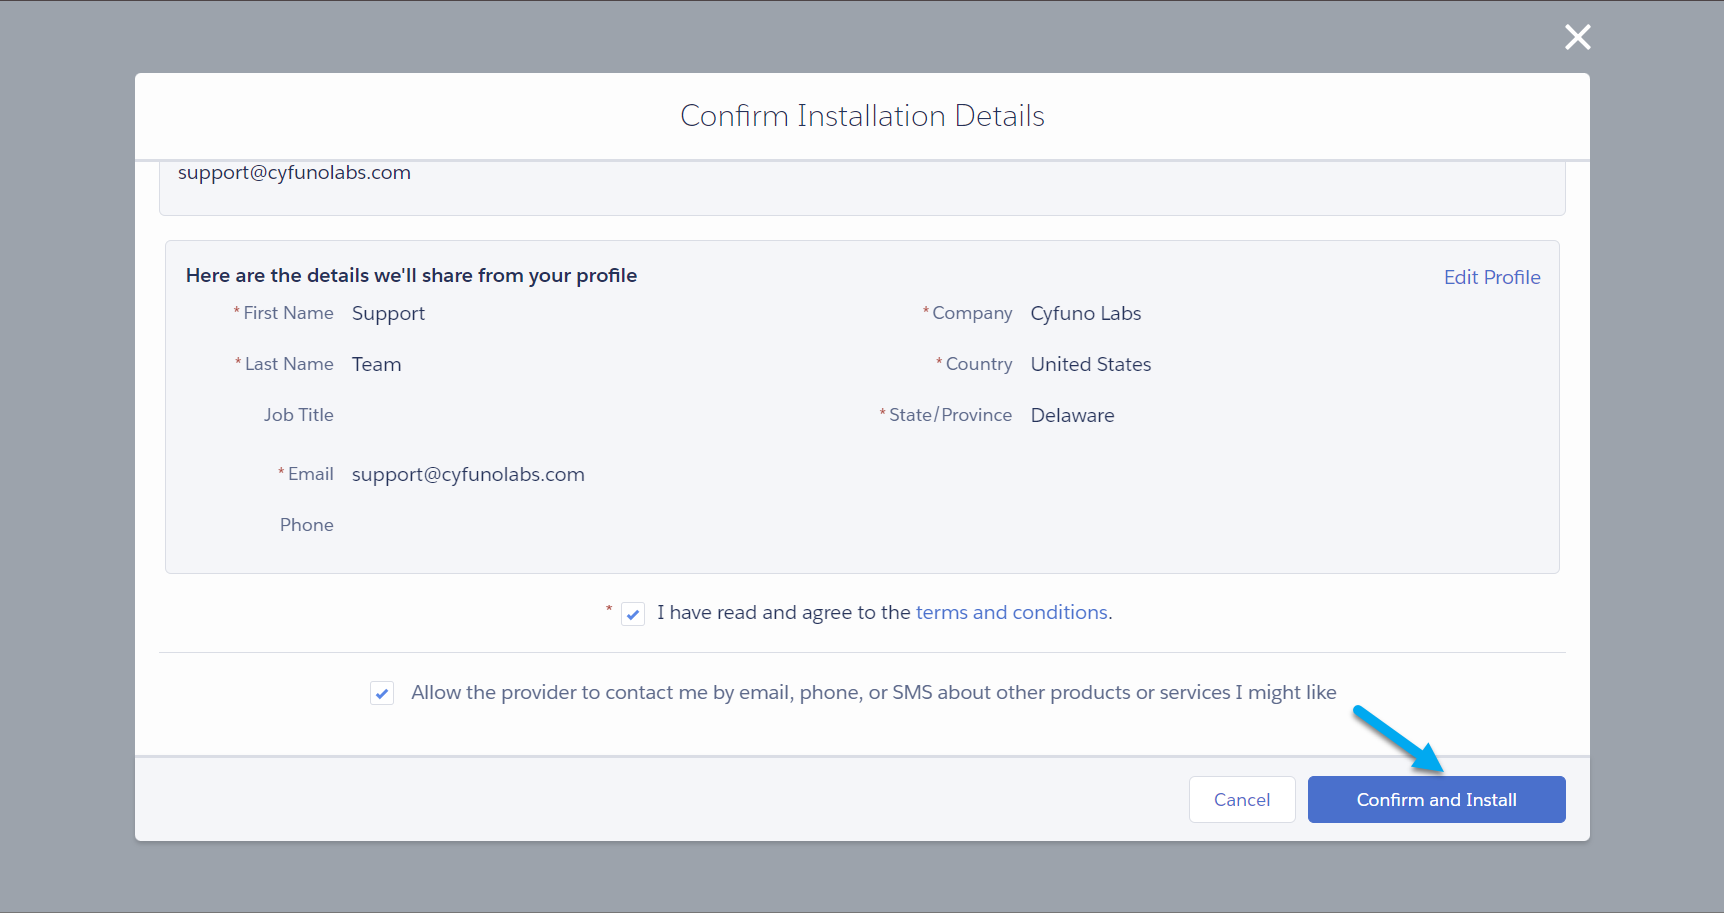
On the Confirm Installation Details screen, make sure everything is correct (scroll down to double check everything). You'll also be asked a second time to "really" confirm.
Begin Configuration
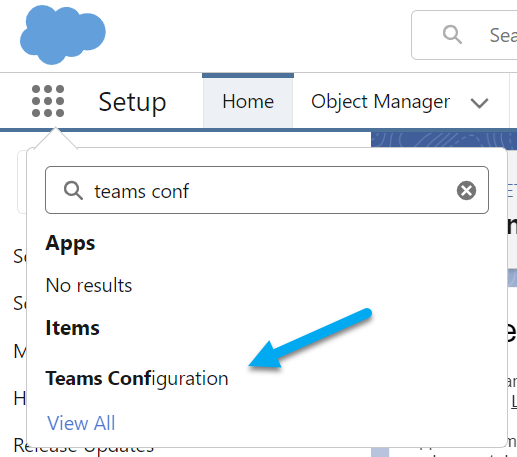
When the installation is complete, launch the Teams Configuration from the App Launcher.
Note: If you are delegating the actual app configuration to another user, they will need to either be:
- A user with the Salesforce Administrator profile
- A user with the Packaged Permission Set: Teams Notification Admin
Next up: Create the Salesforce Site

